Step 1:
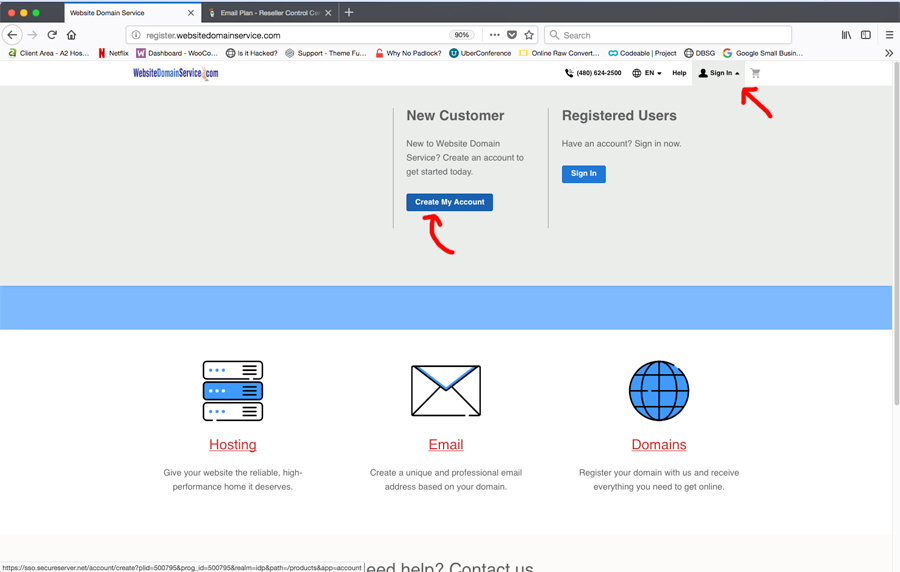
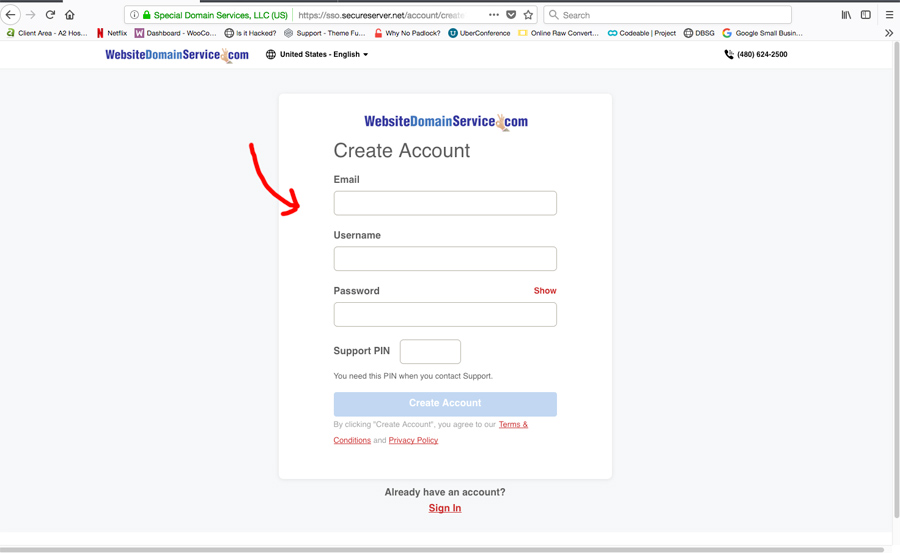
Go to www.websitedomainservice.com to create your own hosting account. Click on “Create Account” in the upper right corner of home page to begin.
Step 5:
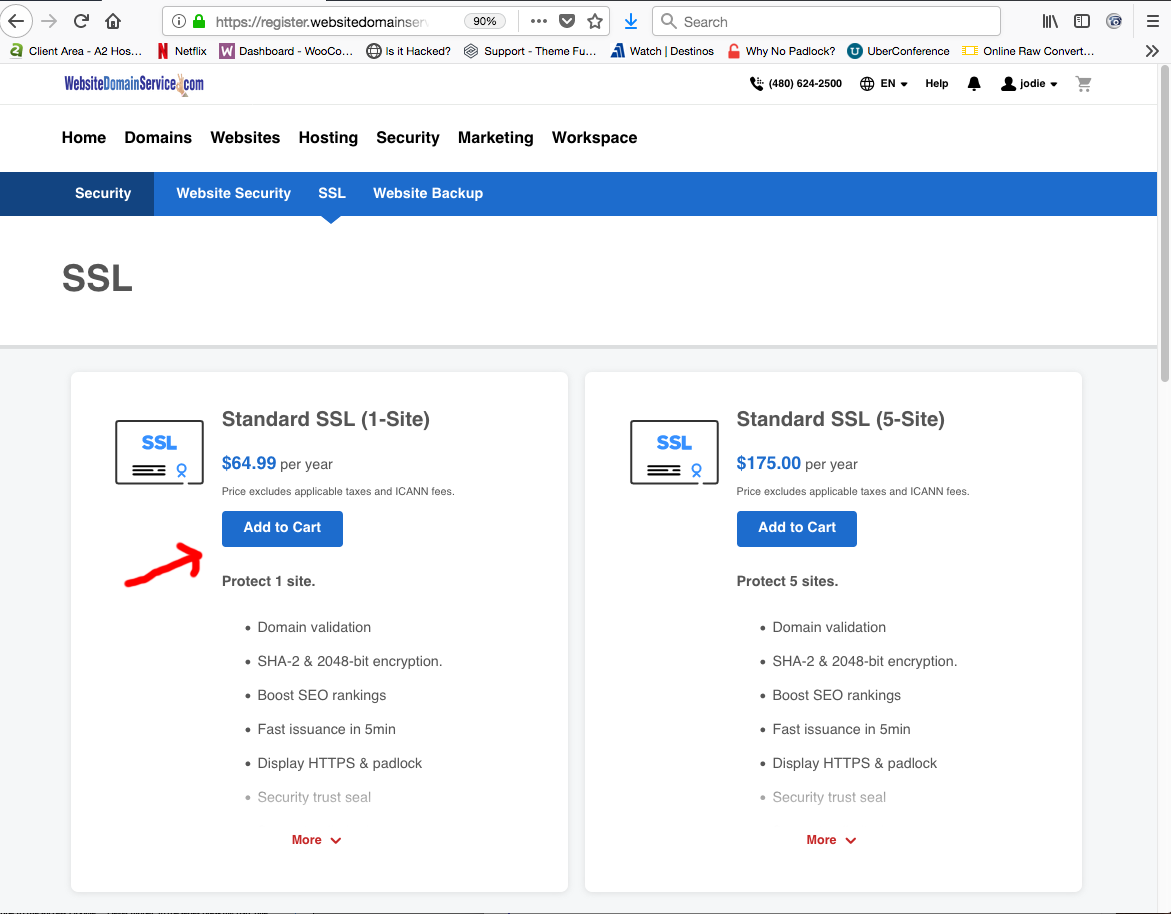
Adding a Standard SSL Certificate is also recommended (but not mandatory). An SSL certificate adds additional security to your website and helps to improve the website’s search engine optimization (SEO).
To find the SSL, at the top of the page, choose “Security” then choose “SSL” from the dropdown.
The Standard SSL (1-Site) option is ideal for a single site.
Scroll back to the top of page and click “Checkout Now” in upper right corner. Follow the payment process to complete your order.
Please call 412-548-3954 if you have any questions on setting up managed wordpress hosting. You can also email your question to [email protected].

